ISSN 2207-001X March 19 2017
This Puzzle was hooked by the Australian Rugmakers Guild Webmaster Judi Tompkins from Queensland who shared her ideas and progress with Editor, Jo Franco, in Western Australia via Skype.
Now the ambitious project’s complete (even has it’s own special storage box with a hinged lid and an image of the completed piece on the inside of the lid) Jo asked Judi if she would share with the members, the techniques used and problems encountered.
Here’s the storage box sitting on the puzzle with a couple of the puzzle pieces on top.
and here’s the finished decorated lid of the storage box.
lift the lid and you have an illustration to follow
Here’s what Judi had to say about the process;
This was supposed to be an “easy” project when I first started thinking about it, I mean after all, I was merely going to produce 16 small rugs that would nest together neatly and create a large colourful mat with some beads and bling. 
Hah! Just goes to show how the best laid plans can change directions rather quickly.
(Please Note: some of the videos in this post are slow to load)
So, for any of you wishing to try a similar project, here, not in any particular order, are some observations and things I learned along the way.
Glue is not my friend! And believe it when they say “hot” glue – You betcha it is!
It took me a while to figure out a few things about hot glue: 
– You don’t have to touch it immediately (and in fact you shouldn’t) … give the glue 3-4 secs to lose the immediate heat before you manipulate your fabric or embellishments.
– After burning my fingers eleventy-two million times I discovered that some crumpled up oven paper/baking type works as a great substitute for your finger. The glue won’t stick to it and you can use it to push and adjust the fibre. You must use it crumpled though … then it acts as a buffer between you and the hot glue.
Glue is still not my friend but we have come to an “understanding” at this point.
Make your design easy to cut apart. I left space between my pieces but I think more would have been better. Just think about how you will cut the shapes once you are ready to glue the edges and how much space you will need to manipulate the glue gun. 
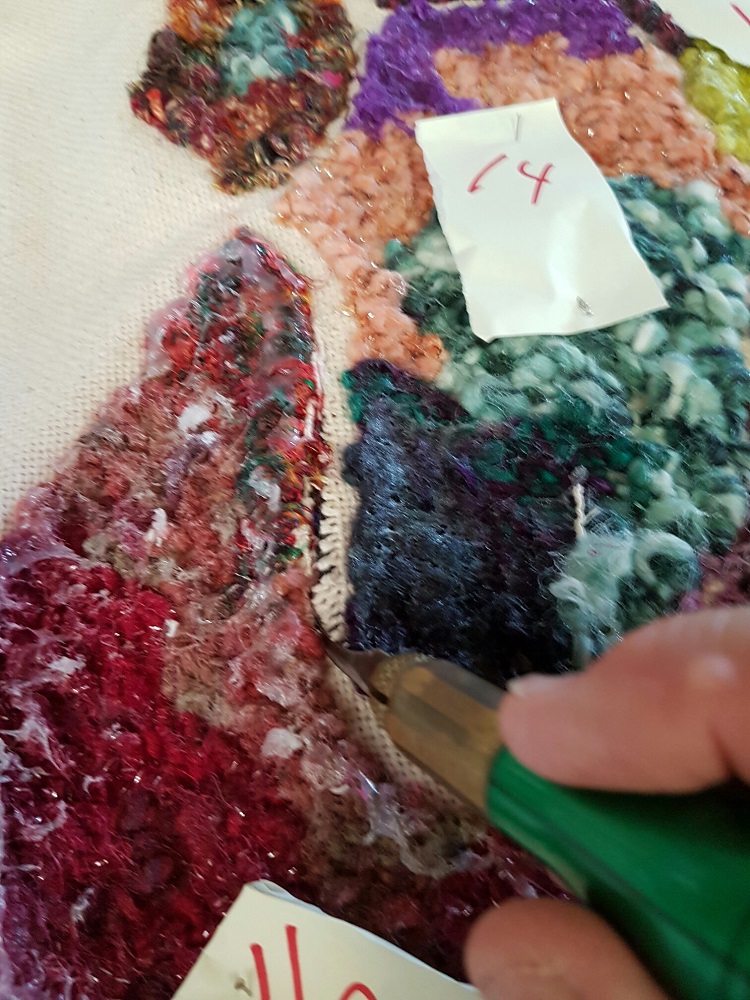
Once I finished hooking the pieces I used PVA glue to stiffen the edges a bit and to pull the stray fibres out of the way of the cut line.
If you are making a puzzle or some such thing that needs to be reassembled in a particular way … number your pieces on the backing and TAKE A PHOTO OF IT! 
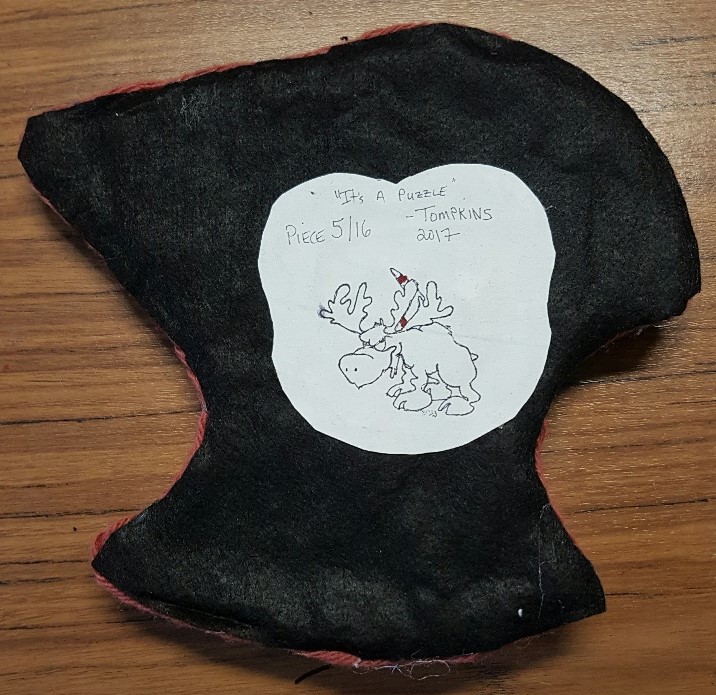
Then when you finish the pieces I suggest that you put the corresponding number on the back of each piece (ie. 4/16…piece 4 out of 16) so you can match them up yourself … believe me you will be very glad you did this!
Because I am so bad with glue, I “over glued” the edges with hot glue before I cut the pieces apart. So … my suggestion is that if you have already used PVA glue to secure the bits … cut your pieces apart and then hot glue the edges & backing. Believe me cutting through “set” hot glue is an ugly job and I broke a pair of scissors trying to do it!
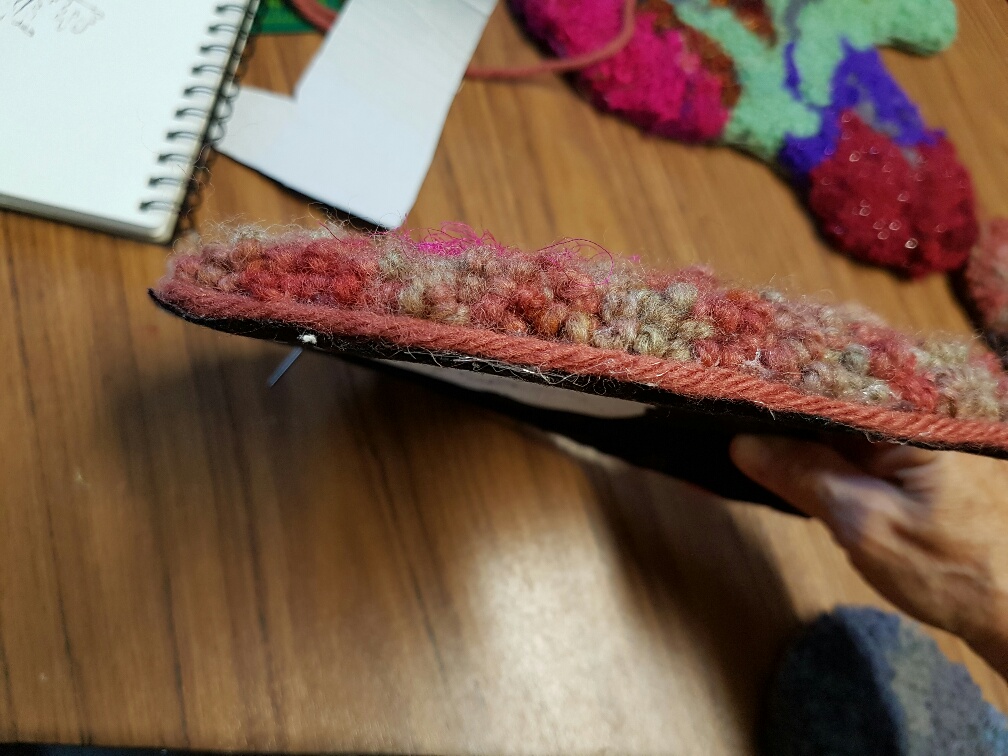
I don’t hook in neat straight lines and I tend to use a lot of different fibres so my work tends to be lumpy and shaggy. That works well for hiding the rough edges but I found that I still needed to “outline” each piece with some 8ply rug yarn to clean up the edge. I would be interested to see how this looks if the pieces were hooked with cut wool strips and a consistent loop height (which I can’t seem to do!). I think the pieces would nest together better than mine do.
Never, never, never, never, ever use self-adhesive backing on your pieces! Ahhhhhhggggg! What a nightmare! When trimming the edges of this stuff my scissors were gummed up within seconds and I had to constantly stop to wipe them off with turps! And an exacto blade was even worse!
Awful stuff …. but again … it’s a “glue” thing with me perhaps? 
This is an extra puzzle piece included in the box as a “mystery” piece just to give people something to think about ….. “now where should it go?”
(it goes nowhere because it’s piece No. 17 of a 16 piece puzzle). Hah!
 Good luck to all who try this … I’ll be interested to see your results!
Let me know if you have questions. Judi Tompkins
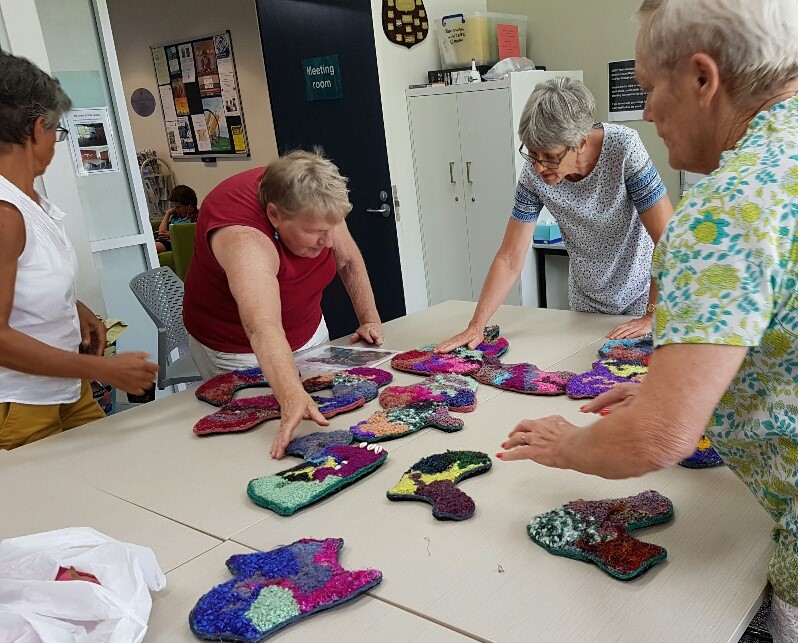
Members of the Sunshine Coast Rugcrafters group attempt to put this puzzle together for the first time – it looks like it would be fun!
Thanks Judi for sharing your thoughts as you worked through this process.


